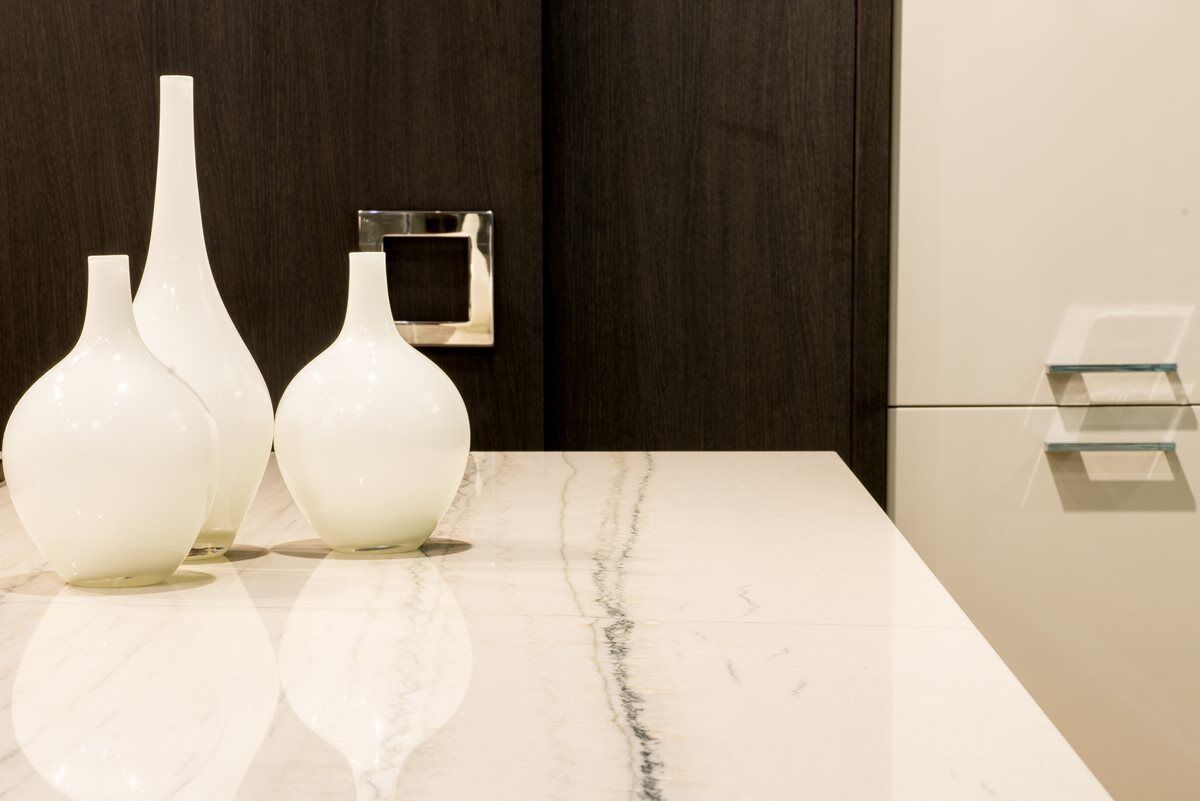

Cirrus White Granite countertop with Ogee Edge © Living Stone Granite,LLC
9 Steps to the Perfect Countertop
If you’re just getting started in the process of building a new home or remodeling a kitchen or bath, we know you have lots of questions. It’s hard to know where to start, and without having been through it before it can all be a bit of a blur. If you’re not sure where to begin—or even how the whole process works, a little bit of knowledge can go a long way. We’re here to help!
At Marble & Granite, Inc., obviously we sell marble, granite, and dozens of other kinds of natural and manmade surfacing products. But unlike a furniture store where you walk in, choose your new dining room table or sofa, have it delivered, and enjoy, there’s more to the process here. When you understand the order of events and what’s expected of you along the way, things will go far more smoothly for you.
We’ve broken down the countertop shopping process down into these basic steps:
1. Understand Your Choices
There are many different materials to choose from and the one you select should best reflect your style and desired level of maintenance. From natural stone like marble, granite, quartzite, and soapstone to engineered materials such as ColorQuartz and Neolith, there is a perfect material for your needs. In some cases, the perfect material is actually the perfect materials-- mixing different products in the same space is becoming increasingly popular. Take your time and learn about all of the various materials. Read more about the various types of stone and think about which one works best for your particular project.
2. Find a Good Fit
Once you’ve decided on the kind of material you want for your countertop, take a trip to a trusted stone wholesaler. See the options in person so that you know for sure it’s what you want. When it comes to natural stone, remember that samples aren’t always the best way to “see” the material. Slabs can vary widely, even those quarried in the same area. So be sure to see your slab in person before you commit. If you’re going with ColorQuartz or Neolith, this isn’t as much of an issue. However, be sure to see the material in person. This is really the very best way to make 100% sure it’s what you want.
At this point in the process, you should have a floor plan, drawing, or sketch to work with so you know how many slabs you need to complete your project.
Once you find your ideal slab at Marble & Granite, Inc., we will hold the material for you for up to 7 days with no obligations. This gives you enough time to get final quotes for installation. We are one of the only stone wholesalers that actually shares the price for the slabs with you which puts you in a much better position to understand the final cost for your countertops. Labor to cut and install can vary greatly ($35 per square foot - $120 per square foot) depending on the particulars.
3. Select Your Details
Remember that it’s the details that make your project unique. Take time to think about your options. Do you want your countertop to be standard thickness or have a built-up edge? Which edge profile do you prefer? Do you want a simple square edge or a rounded bullnose edge? Do you want a more detailed ogee edge or a marine edge? Here’s a great overview of the various edge details you can choose from.
4. On-Site Template Creation
Once the cabinets and appliances are set, the countertop can be measured or laid-out with a template. Templates are usually made by hot-gluing strips of 1/8” thick plywood to show the fabricator the exact size and detail locations of your countertop. It’s an accurate way to transfer the spatial measurements and its light enough to transport and work with to cut the exact countertop measurements. With technological advances, some templates are completely digital now. The installer will come in and essentially take pictures of several data points on the cabinets to get the exact measurements. This is the final opportunity to make changes or additions. A template will indicate details such as sink cutouts, backsplash, cooktop edges, faucets, drain pipes, window locations, and so on. Edge notations will include the amount of overhang, edge thickness and the type of edge.
5. See Your Slab – “Laying out the Template”
Since every piece of natural stone is different, you’ll want to be sure you’ve had the chance to examine how the fabricator plans to cut the slabs into your countertops. What you want to look for during this process is any inherent characteristics of the stone that you feel are the most aesthetically pleasing so you can incorporate them into a more prominent part of your counters to show off that natural beauty. The uniqueness of natural stone is, of course, part of its charm, but you want to be sure that you don’t place an area that might feature anything deemed “unacceptable” front and center. If there are any “birthmarks” on the stone, you can indicate that the fabricator should avoid this area during the templating and fabrication process.
6. Template Layout
Once the slab has been inspected and any areas to accentuate or avoid have been clearly marked, the template will be laid out onto the slab to ensure that the final result is to your satisfaction. With an eye on color and texture, the template person will arrange the pieces much like a puzzle, making sure that the stone has an appropriate flow and pattern for its particular design.
7. Review your shop drawings
Once a template has been created, a precise digital drawing will be made reflecting the measurements. The final decisions on seams, cutouts and any other elements will be finalized at this time. The CAD drawings will then be used to guide the fabricator who will craft your new countertop.
8. Fabrication
Fabrication is the process of turning your selected slab into a finished countertop. The stone will be cut, using either a water jet or a bridge saw, to the exact specifications indicated by your shop drawings. Once the pieces are cut from the large slab, they are then fabricated. Sink and cooktop cutouts, holes for faucets, and any other necessary details, are either made by hand or with a CNC (Computer Numerically Controlled) machine. The machine is programmed to know the size of the stone and the size of the desired cutouts. Once the holes are cut, the edges are then shaped by the CNC machine. Finally, the countertop’s edges are finished to the desired sheen.
9. Installation
Once all of the above steps have been completed and the final product is ready, your new countertop will be installed. Installation typically takes place about three weeks after the template is created, though this can vary from job to job. Installation of the average countertop takes about two to three hours. Once secured into place and any finishing touches added, the countertop will likely be sealed. Though be sure to ask your fabricator what the next steps should be for proper maintenance.
After all is said and done, the final product will be an elegant, durable countertop that you will enjoy for years to come. Are you ready to get started? Check out our Online Project Planner. You can also schedule a free consultation or visit any of our three northeastern showrooms. Give us a call at 877 39 STONE.